Algolia is a search technology provider that developers can use to power their apps and software. WordPress users can also integrate Algolia and replace the default WordPress search function with Algolia’s technology.
Why would you want to do this? Because the default WordPress search is very basic, can’t be customized, and the user experience is not great.
Algolia search is fast, allows filtering search results, provides statistics (incl. search terms), and the set up is very easy. The free plan is good enough for startups, bloggers and small businesses that use WordPress to run their websites.
In this post, I am going to explain how to set up Algolia search with WordPress, and then show how to integrate it anywhere on your site using Elementor.
Install and connect Algolia search plugin
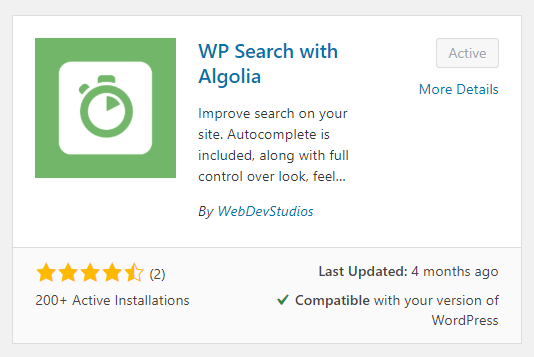
Until May 2019 the Algolia team provided a WordPress plugin by themselves. That plugin was discontinued, but some developers are at it already and an alternative is already in use here on Fresh van Root.
You can install the Algolia search plugin like any other plugin via WordPress dashboard.
After you installed and activated the plugin, you need to sign up for a free Algolia account, create an application in their backend and add the API keys in WordPress.
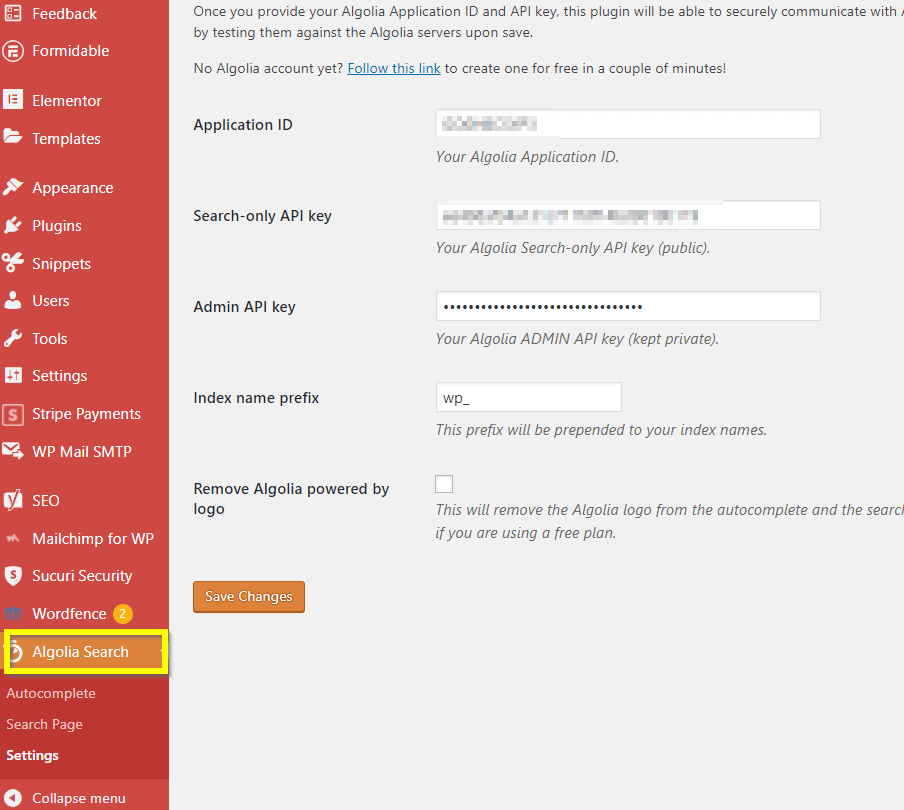
Note that you need to show the Algolia logo if you are on a free plan.
After you connected your WordPress site to your Algolia account you can edit the autocomplete settings. On that page you can configure which content on your page should be searchable and start the indexing process. For example, if you have WooCommerce running on your site, you could also use Algolia search for finding products.
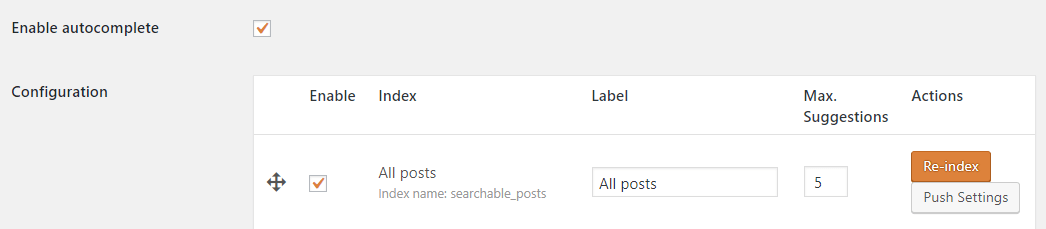
In the case of Fresh van Root, we want “All posts” to be searchable, autocomplete is enabled and a maximum of 5 results is shown instantly below the search input field.
Next step is to decide on which way you want to use Algolia (search page settings).
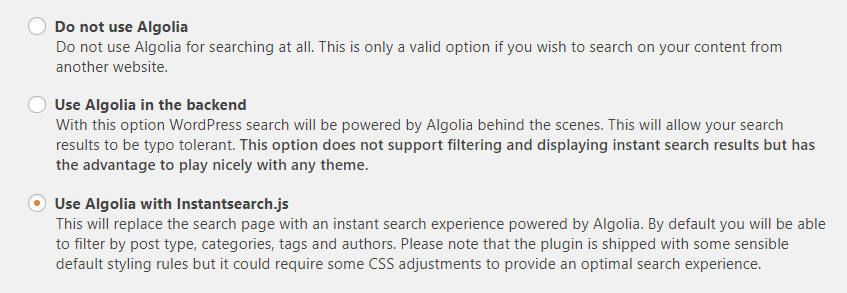
Option one and two will not replace the default search results page that is coming with your theme. Still, you get the benefit of autocomplete, although you might run into problems (it worked fine when I tried it here on our site).
The benefit of using Algolia is not only the autocomplete feature but the powerful search results page. So we go with option three that also replaced the search results page.
After this step, you can already try out the search box if you have it somewhere on your site already.
It works like this:
Note that it not only searches blog posts but also all pages. You can see that also our client case studies are shown in the results.
If you do not see what you are looking for in the instant results, you can hit Return or click on the search icon and you will land on the search results page powered by Algolia.
The search results page by Algolia in action. You can filter by category, tag, post type, and author, all without a reload of the page.
Now, try it out yourself, search our page:
[elementor-template id=”9616″]
What are the limitations of the free Algolia plan?
Analytics data is very limited available in the free plan. Search terms are recorded by Algolia, but you can only view a date range of 2 days, which is useless. The paid plans start at 29$/month.
How to add Algolia search anywhere on your site with Elementor
Now that you have set up Algolia on your WordPress site, you might wonder how you can add it anywhere on your site using Elementor.
Elementor comes with a search widget, if you edit a page or a blog post with Elementor, you simply add that widget, the rest is taken care of.
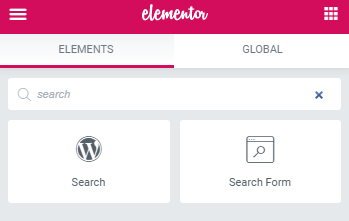
There are two types available, the default WordPress search widget or the Search Form widget created by Elementor. I recommend using the Search Form widget from Elementor, this way you get more styling options.
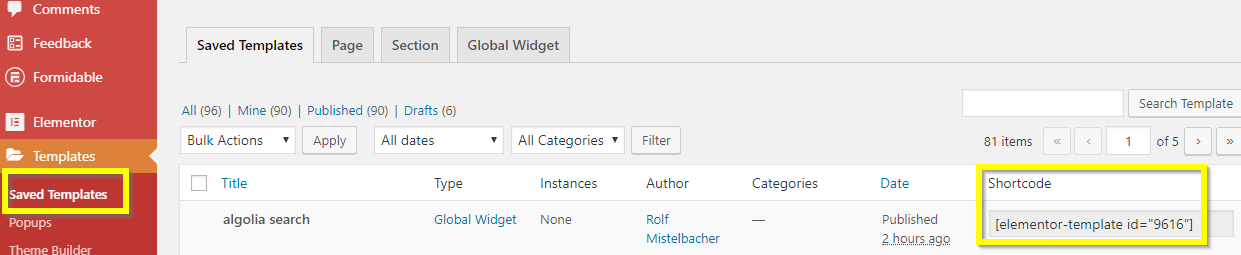
So, what if you do not use Elementor to edit content on every page and still want to add the search form on pages or posts?
Simply save the search form as a global widget, head to the WordPress backend and copy the shortcode of the saved widget anywhere on your site.
If the concept of working with global widgets and templates is new to you, here is a post that goes into detail on how to re-use content across a site in Elementor.
Conclusion
Algolia search can be set up for a WordPress page within minutes. The experience for your website visitors improves and the advanced search results page allows visitors to discover more content quicker. Elementor is not required to get Algolia search up and running, it is the page builder we use to run freshvanroot.com and allows easy integration of Algolia anywhere on the site.
BTW: The Algolia blog is also running WordPress. In the header area, you can also search their blog, nice custom solution 🙂