Do you have an idea for a video that you’d like to create using images? I’ve been amazed at how AI is simplifying video creation, and I’m excited to show you how.
You can either use images you already have or create images with AI and turn them into a video.
In this post, I explain how you can do that.
The process I am outlining is as follows:
- Create static images in ChatGPT
- Then, turn those static images into short videos with RunwayML
- Combine the clips into one video
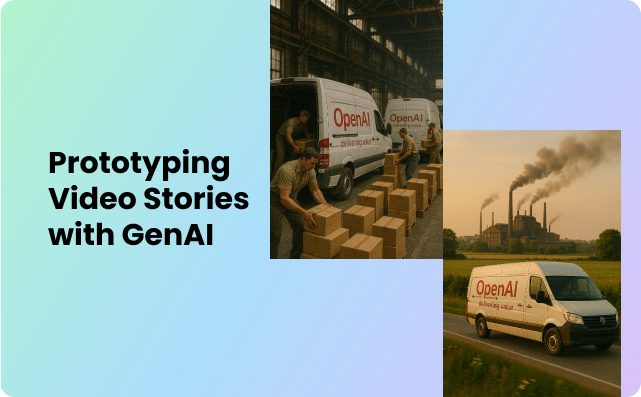
The Video Idea Example
You’ve noticed all the action figure images people have posted on social media. I wanted to make a joke that OpenAI is launching its first profitable business: action figures made in America, delivered to your doorstep with just one click on your LinkedIn profile.
To illustrate that, I wanted to create a video about it.
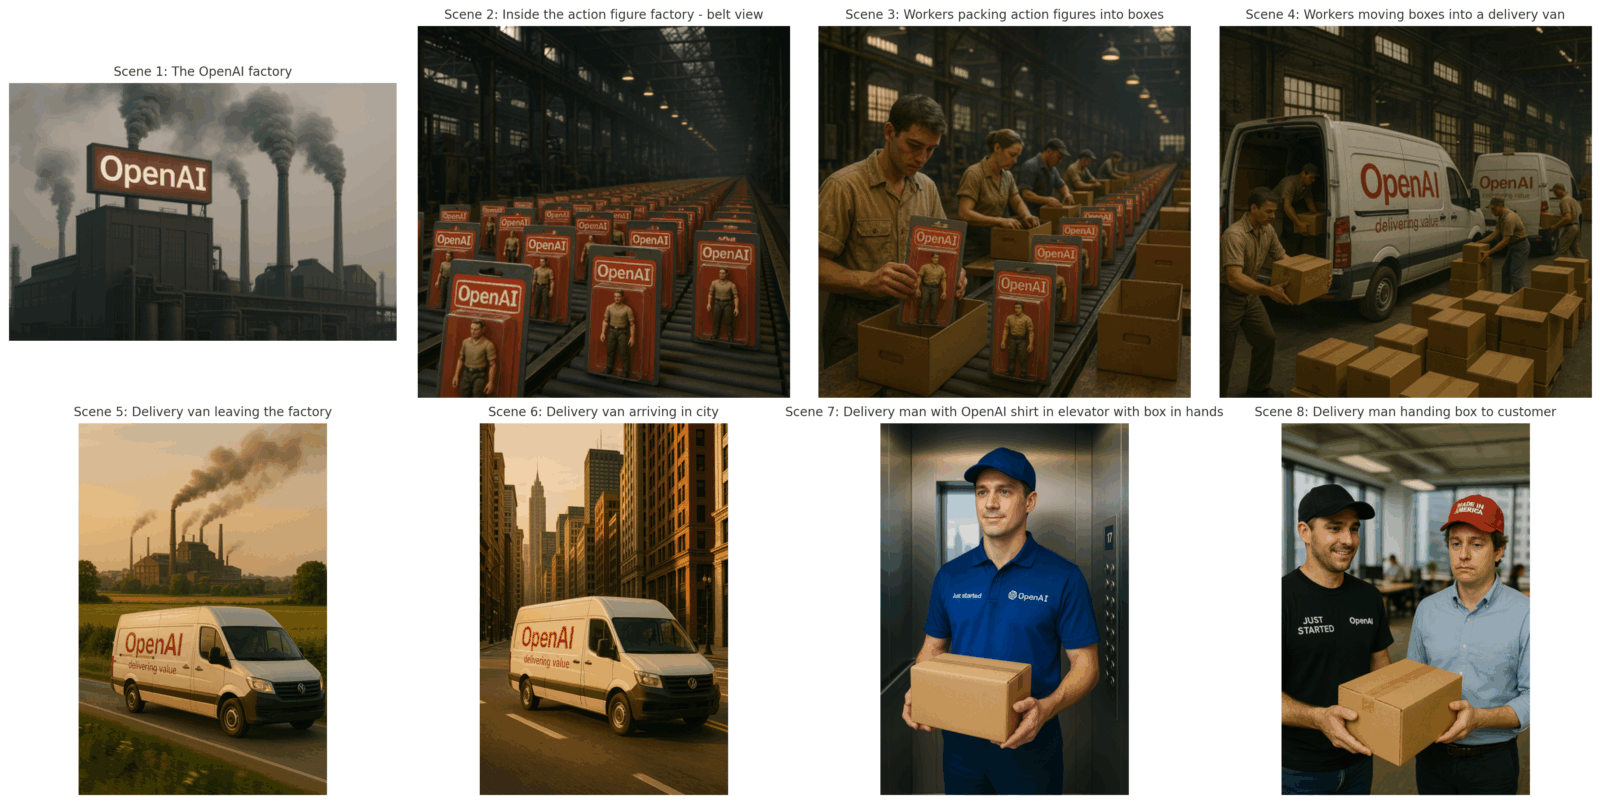
Here are the scenes I need for my video idea:
- Scene 1: The OpenAI factory
- Scene 2: Workers packing action figures inside factory
- Scene 3: Workers packing action figures into delivery van
- Scene 4: A worker steering a delivery van into a city
- Scene 6: Delivery van driving in a city
- Scene 7: Delivery man with OpenAI shirt in elevator with box in hand
- Scene 8: Handing box to customer in the office
Step 1: Creating static images in ChatGPT
Once you have your video idea, start with the first scene. Think of it like a storyboard: What’s the first image on your storyboard showing.
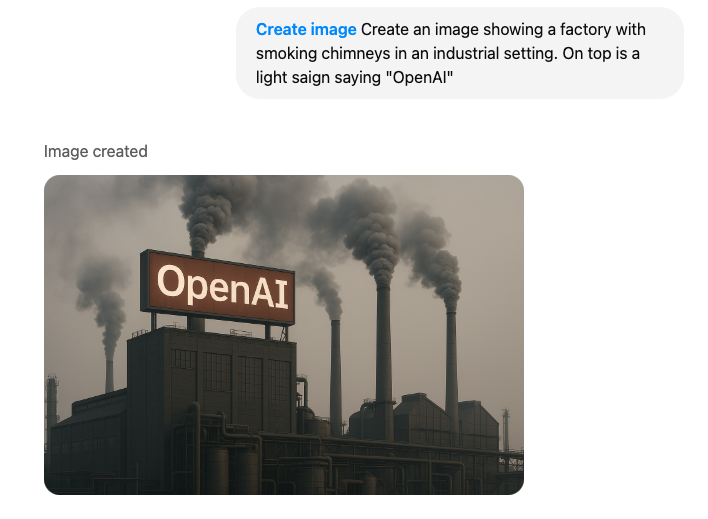
Then, create the prompt and wait for the first visual to be generated.
Once you are satisfied with the style, you can go ahead and create the visual for the next scene. In the prompt, ensure that you include instructions to maintain the style of the first image.
Image creation in ChatGPT can take from a few seconds to a full minue, and sometimes it simply fails. So be patient.
Step 2: Turn static images into short videos
Once you have downloaded the static images from ChatGPT, you can turn to RunwayML or KlingAI to turn images into short videos.
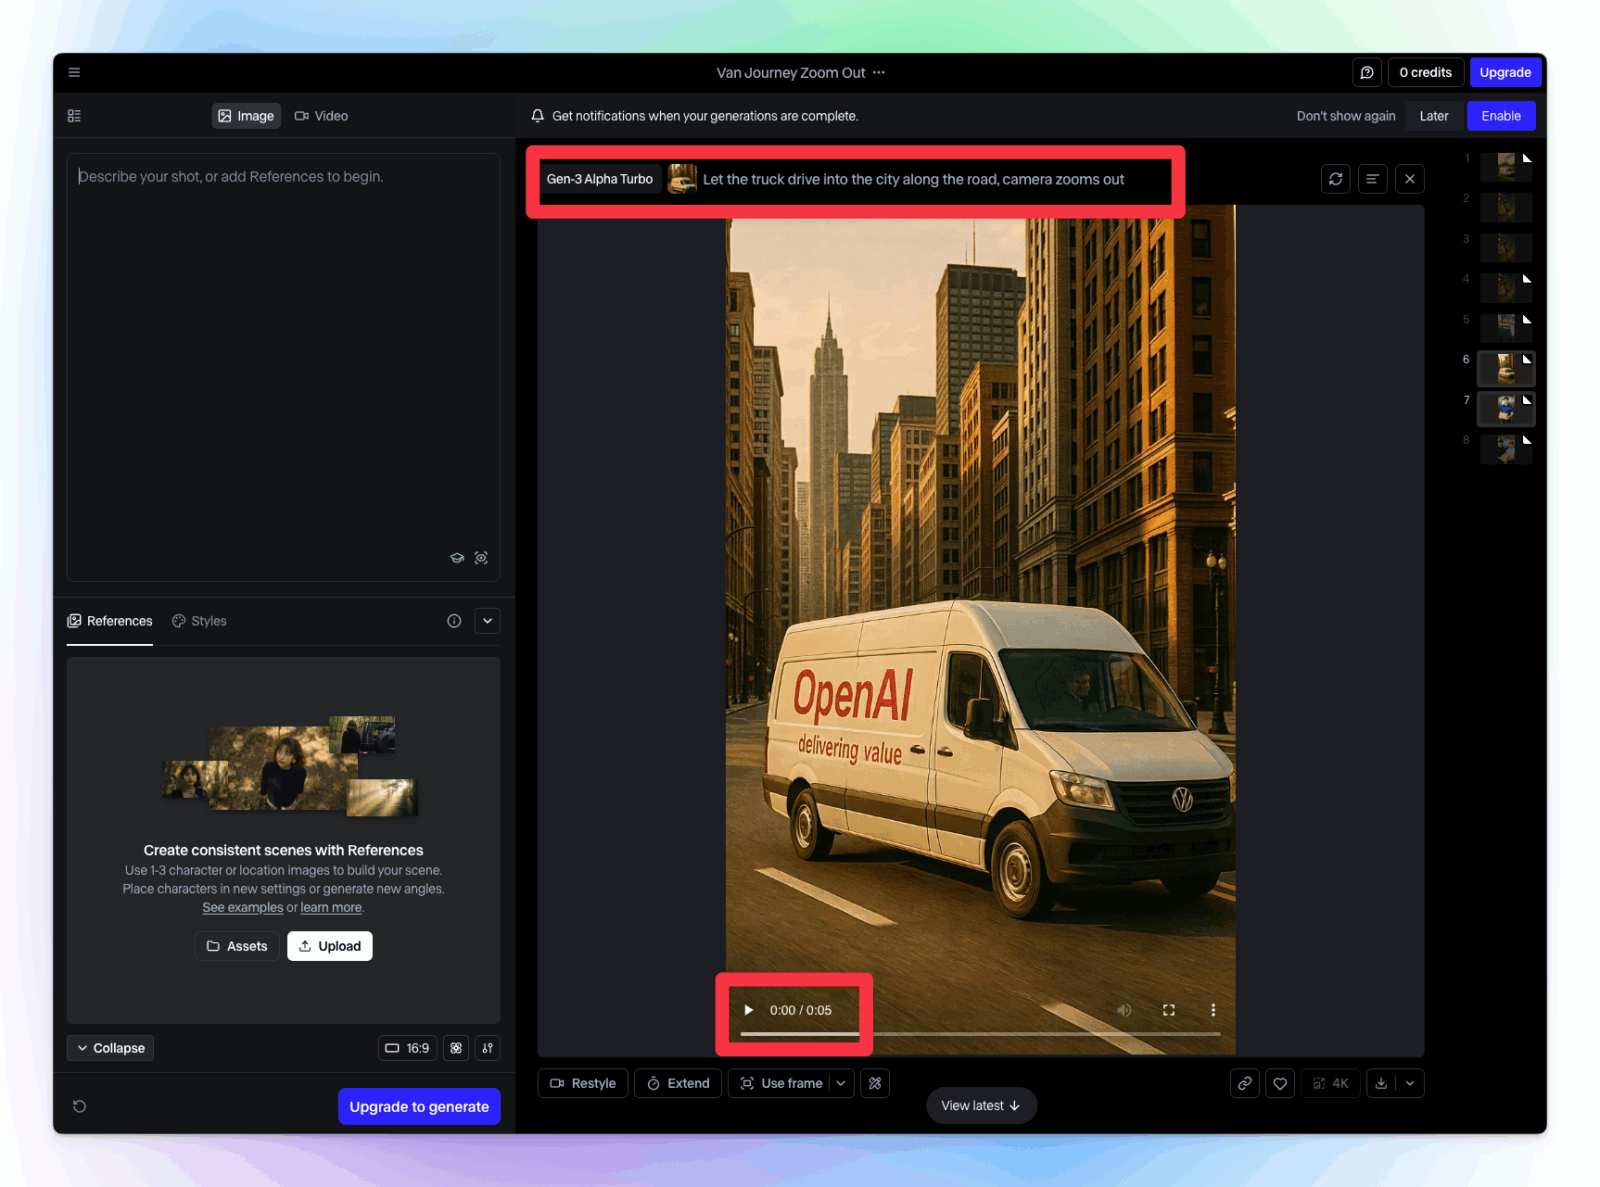
This is how it works: You upload your image, and in a prompt you describe the video you would like to have.
So, in the below example, i simply prompted: Let the truck drive into the city along the road, camera zooms out.
Within a minute you get a 5 or 10 second clip, can preview it or further improve it.
Note that prompting in AI video tools is in itself its own category – there are lots of parameters, settings, styles and more things you can include in your prompt.
Step 3: Stitch your video together
Once you created all your videos and downloaded them, you can stitch them together in a tool like CapCut or Canva.
Both CapCut and Canva allow you to upload your videos and align them on a timeline. Once you have done that, you can export your video and upload it to any location.

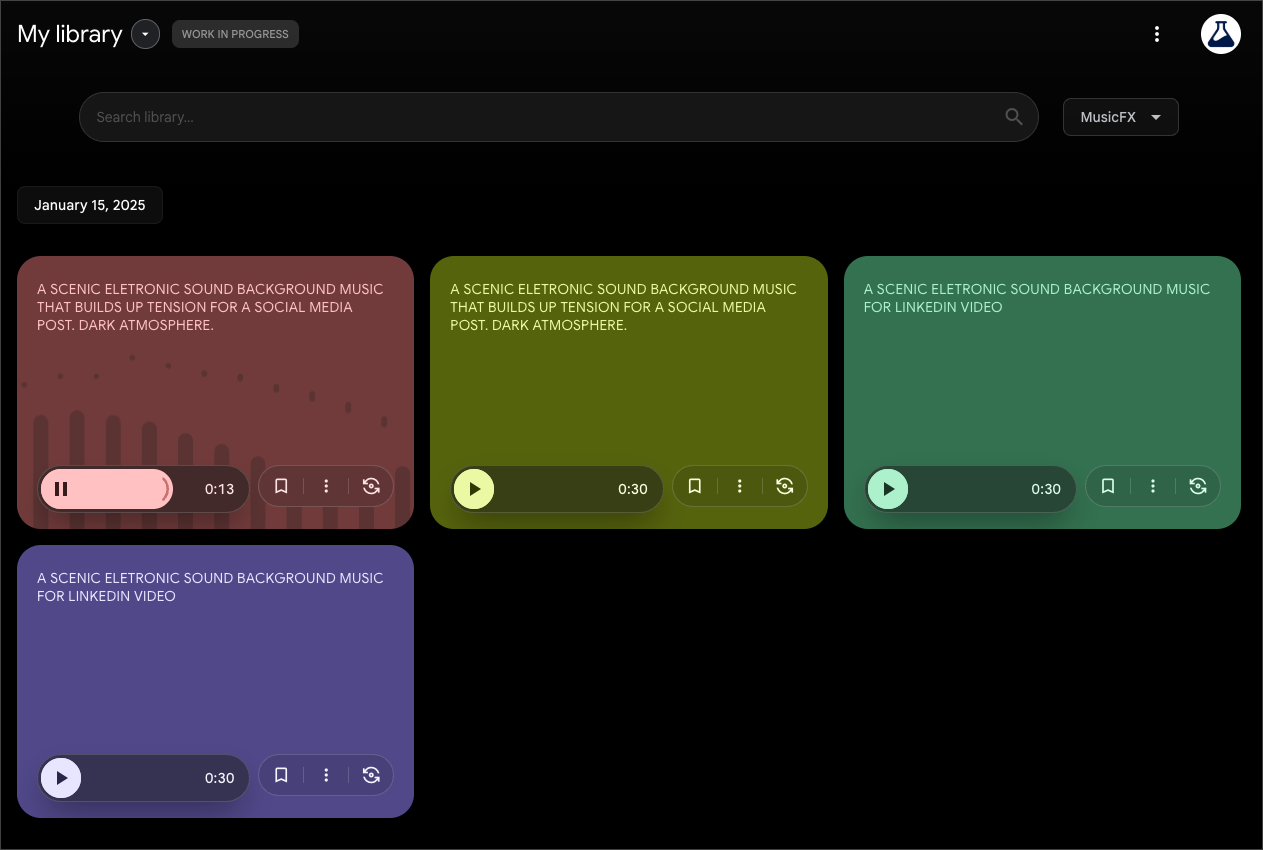
Optional Step 4: Add Music
Want to add a music track to your video? Again, you can turn to AI:
Describe the kind of sound you would like to have in Google Music FX or Suno. Download, and add it to your video in the video editor.
Step 5: Publish your video
Once you have put everything together, you can publish your video file wherever you want.
Here’s the result I got for my video idea “OpenAI opening an action figure production”
Conclusion
Thanks to AI, the barrier to creating a visual prototype for your next video idea has been significantly lowered. If you’re keen to tell your stories through video, you can now get to a solid version 1 in as little as half an hour by using effective prompting. This fundamentally and permanently changes the idea execution process, putting powerful storytelling tools in the hands of more creators.
Related content: