Why would anyone do that?
Think about the following use cases:
- Copywriter who wants to get the content viewed on a web page
- A marketer with no coding skills who want to prototype a web page
- Any web creator lacking coding skills
- A dev or designer who quickly wants to showcase what a page could look like
In all that cases, you are quicker using ChatGPT than using a page builder, manually creating components, and applying styles.
This blog post shows a simple recipe for creating a landing page with a hero section, including a sign-up form and a testimonial section, with some design basics applied.
Let’s go!
The ugly first draft of a page
The situation is the following. I got a copy for a newsletter landing page. But to get a better feel for how that copy looks on a web page, I ask Chat GPT to create the page.
Note that ChatGPT is not rendering the web page. Instead, it provides the page as HTML.
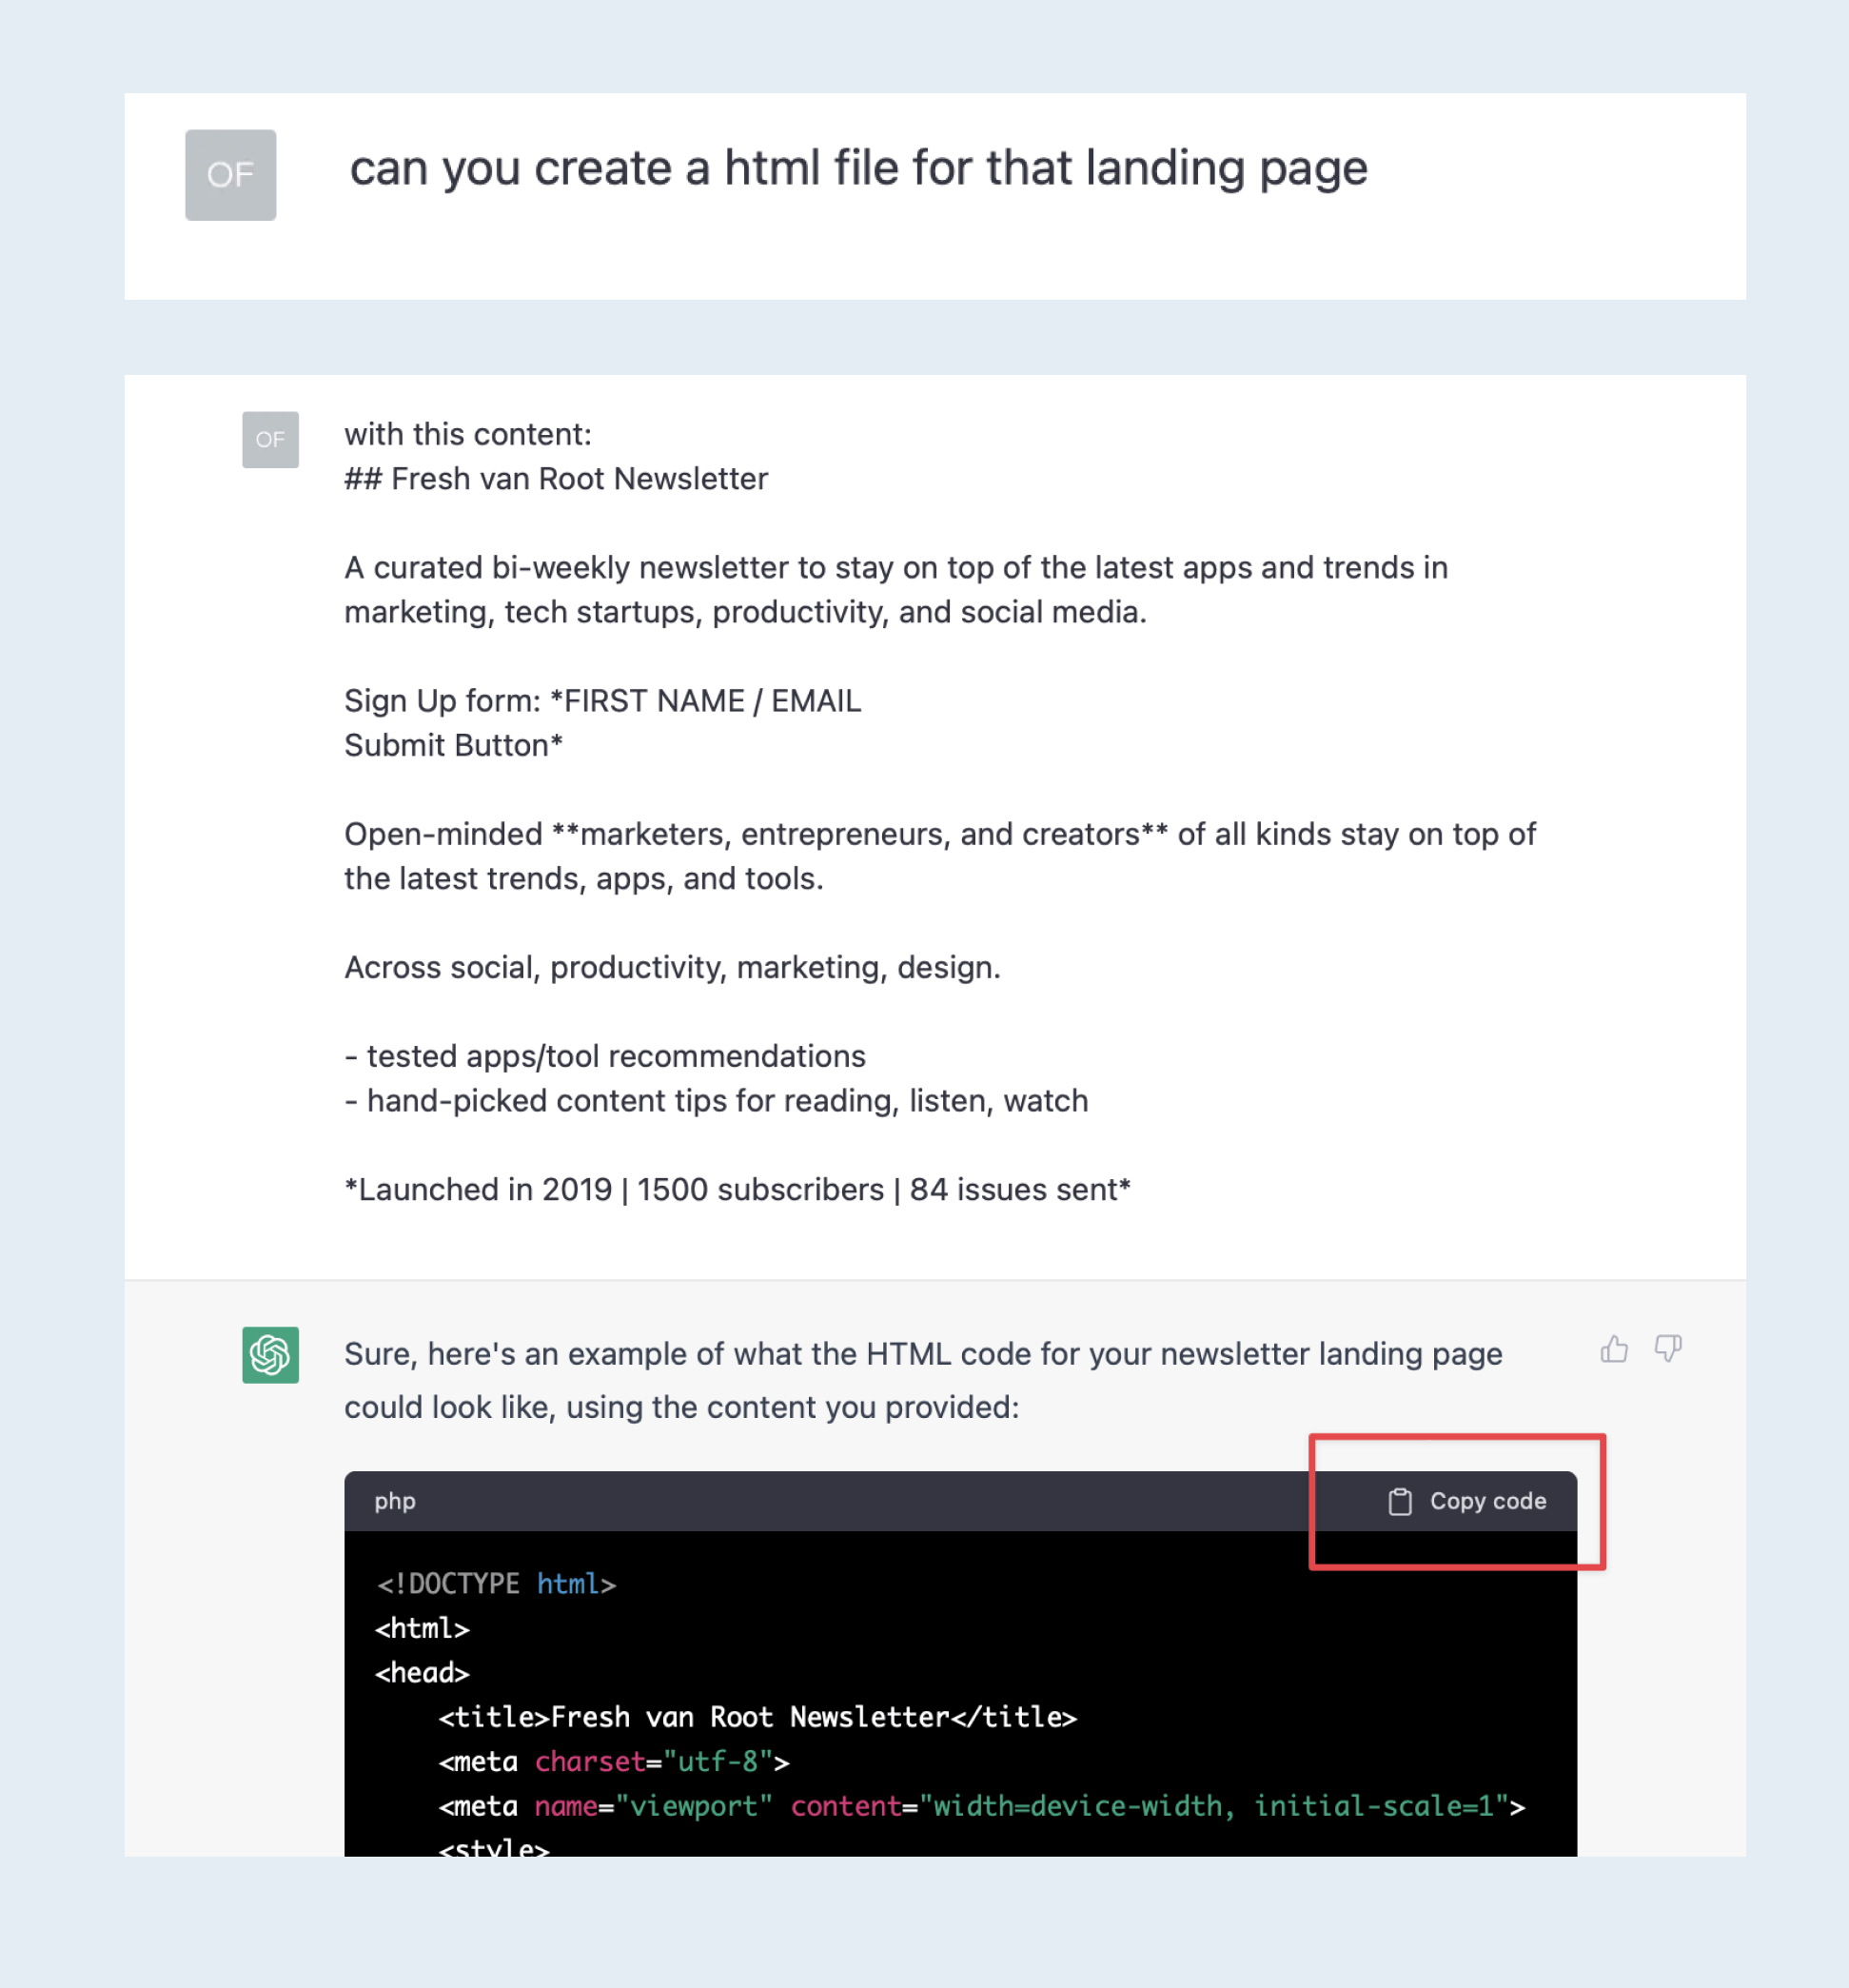
Pasting the HTML into an online HTML editor
There are many tools to do this; one tool I like for that is Codepen.
You can use the service for free, even without an account (of course, you need one if you want to save your creation)
You can open Codepen, paste the HTML from ChatGPT, and get an instant page preview.
This is the ugly first draft of the web page on Codepen:
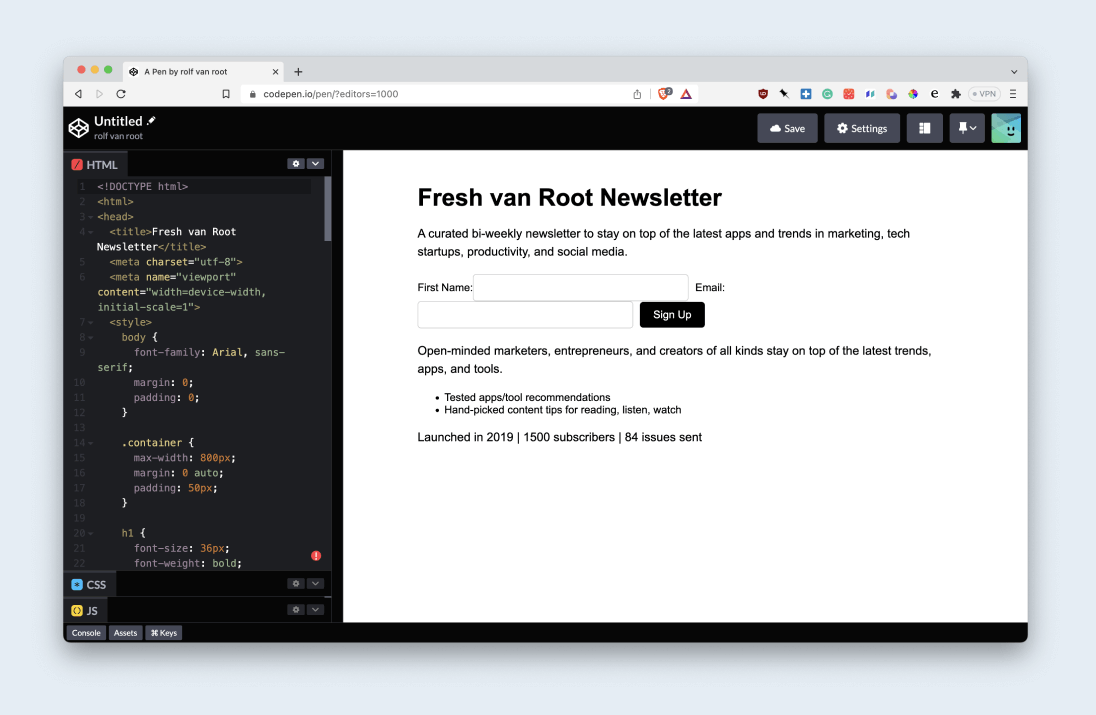
Now the fun starts. You get a feel of what your copy looks like on the page. You might also get some ideas for improving the web page layout and design.
Update content and improve the design
I got some ideas on how to improve the copy and the page’s design. So I re-created the HTML and provided more briefing on the initial request.
This time, I asked ChatGPT to use a specific Google font and provided links to a background graphic and an image to put in the right-hand column.
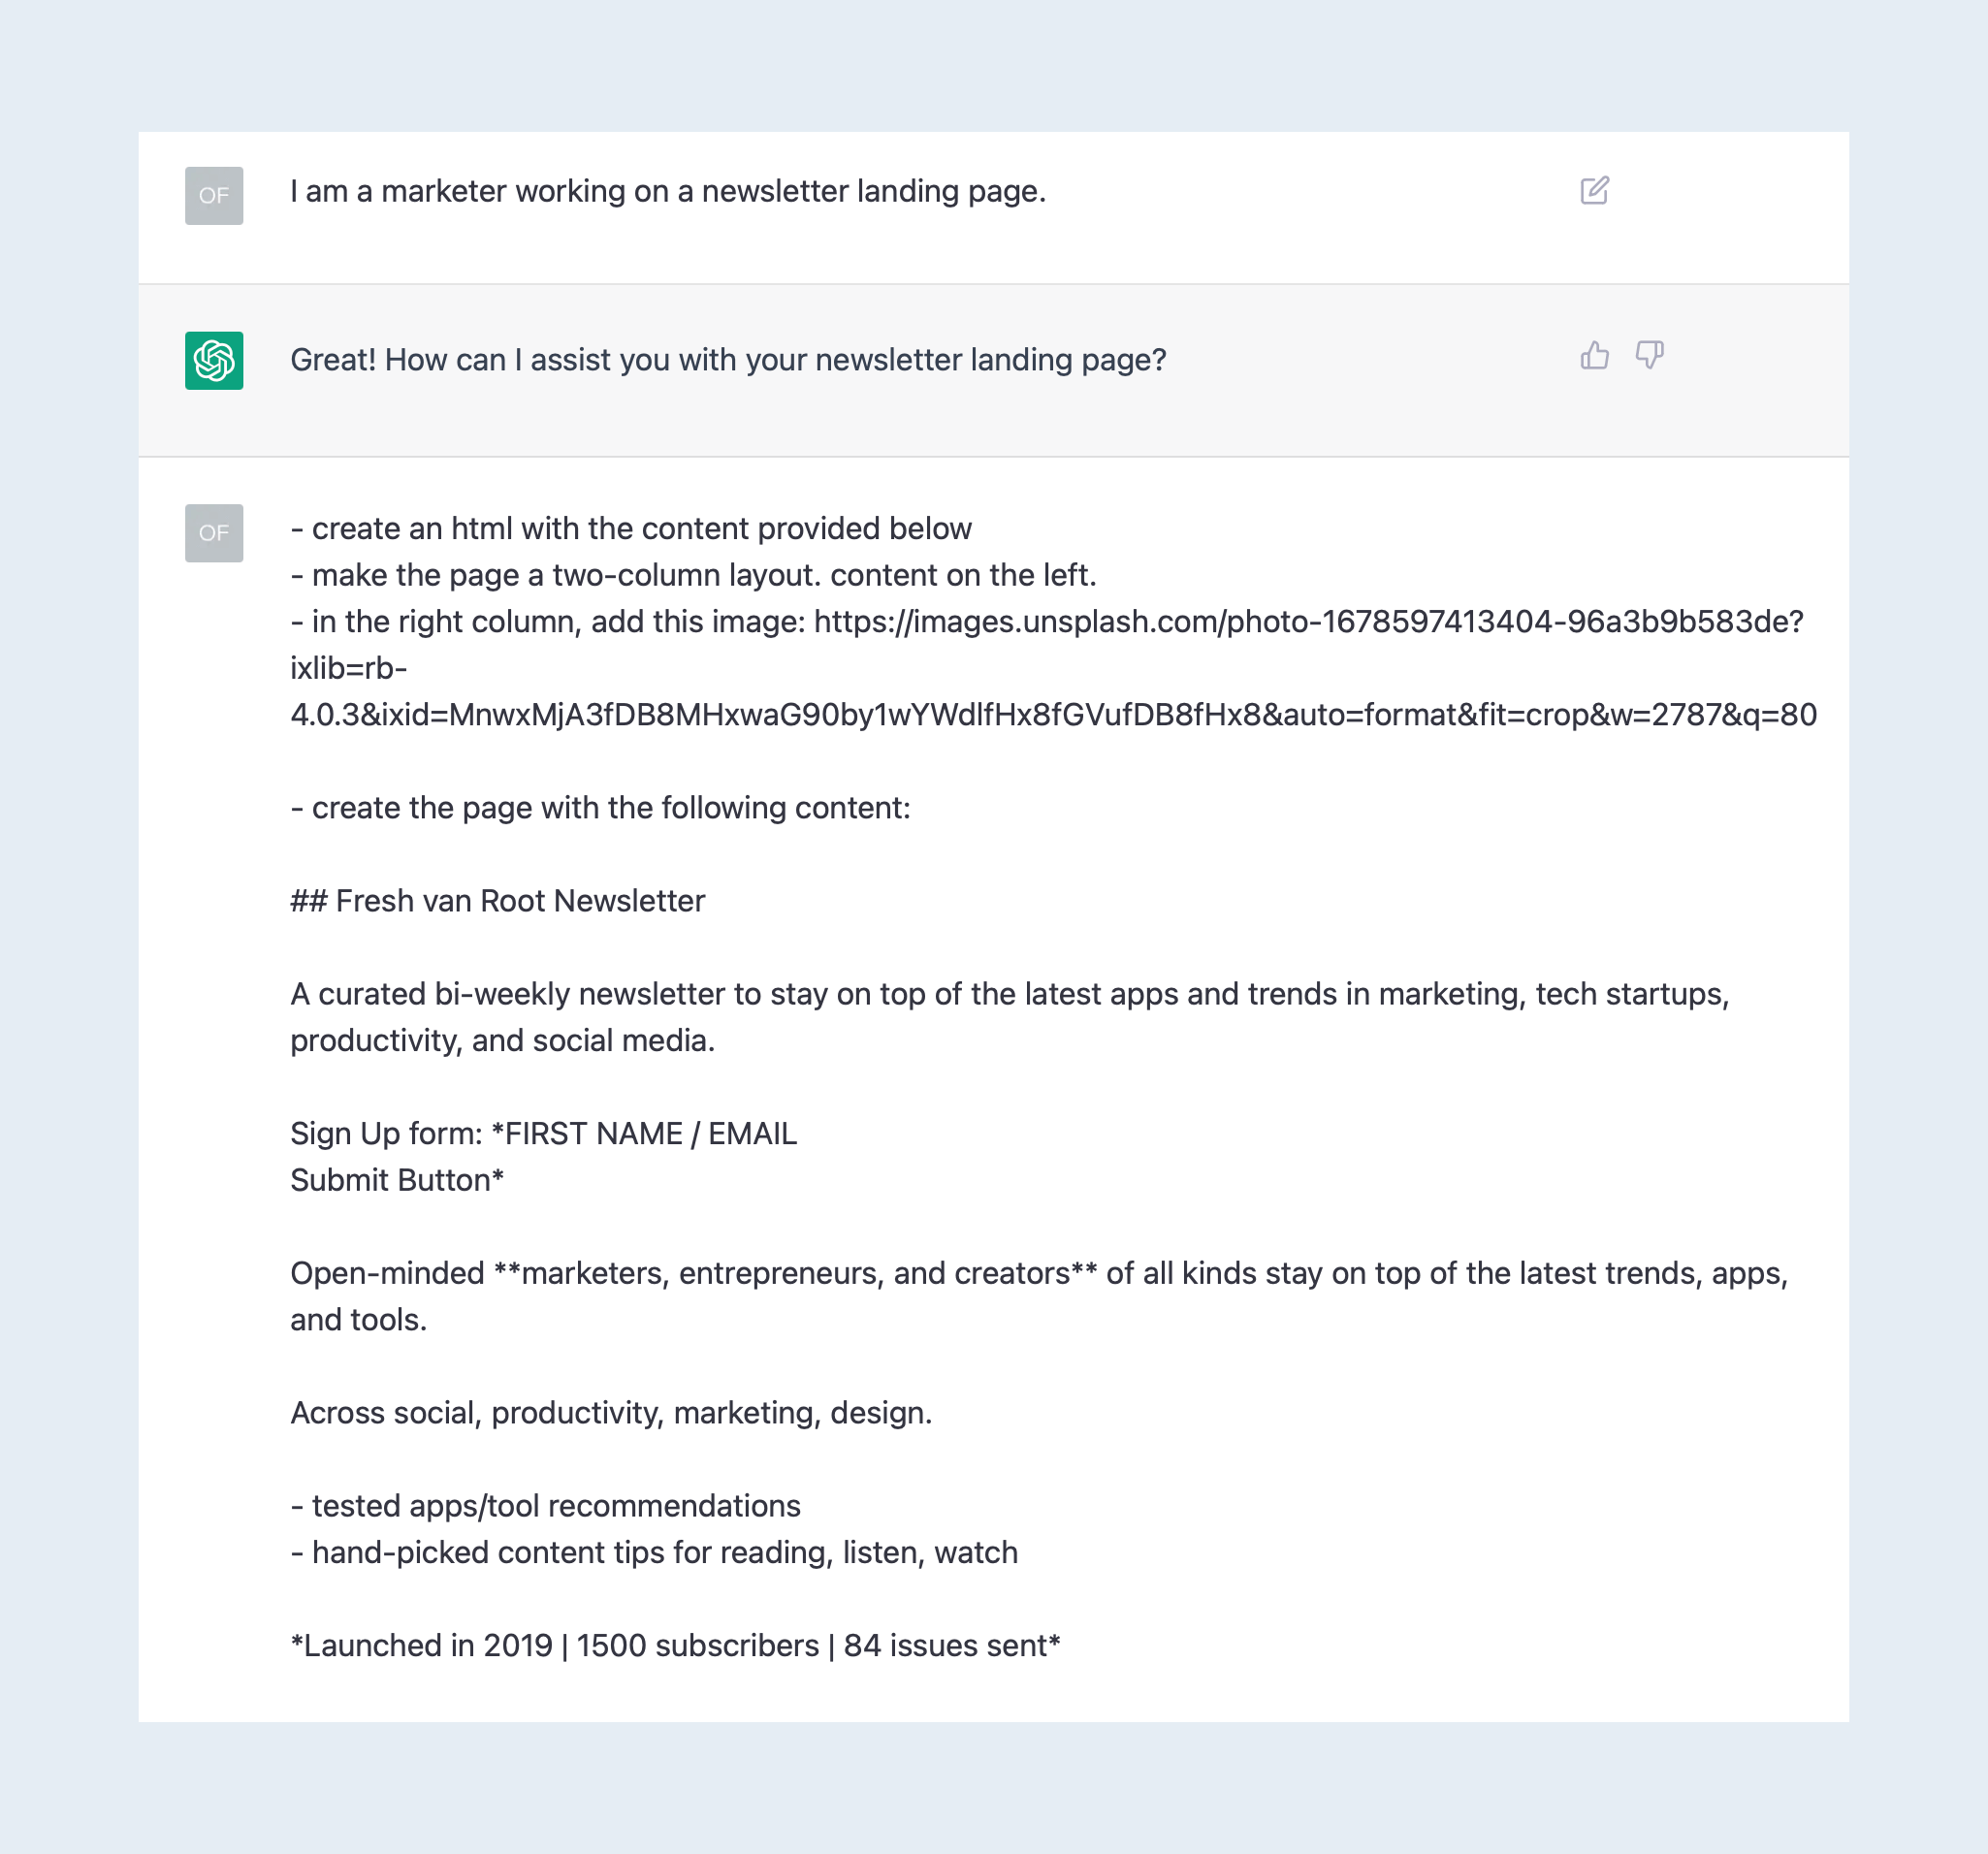
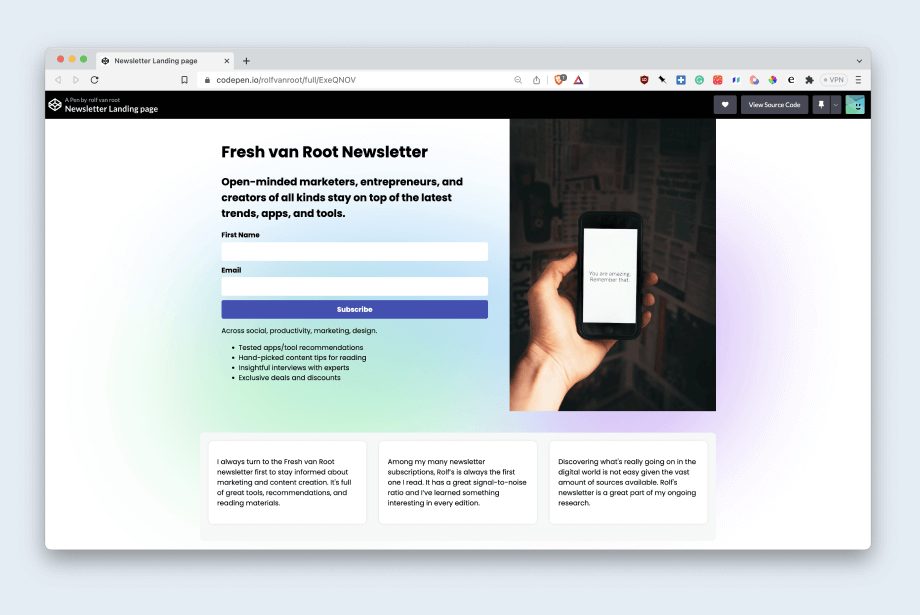
That already got me a way better result on the first HTML. It looked like this:
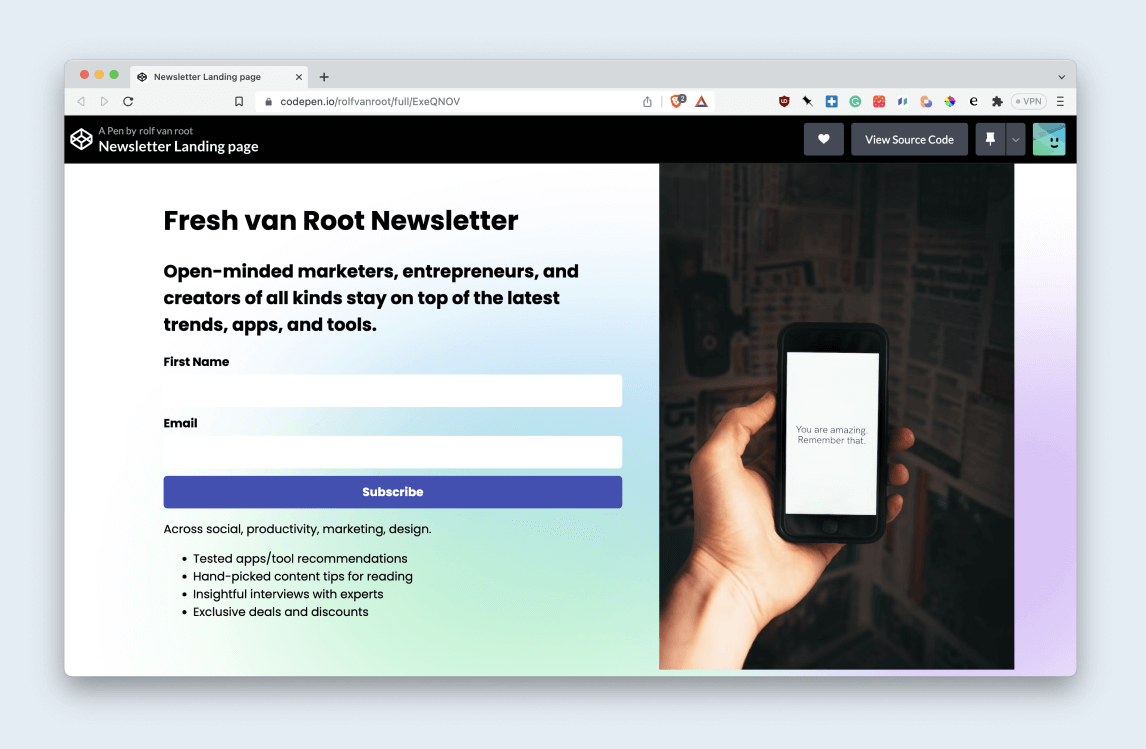
Extend the page with a testimonial section
Common knowledge – landing pages with testimonials perform better.
So I add the quotes from testimonials, and ChatGPT creates HTML to add to the page.
Some back and forth again, I want to make sure it has the same styling and that the width of the new section matches the width of the two columns above.
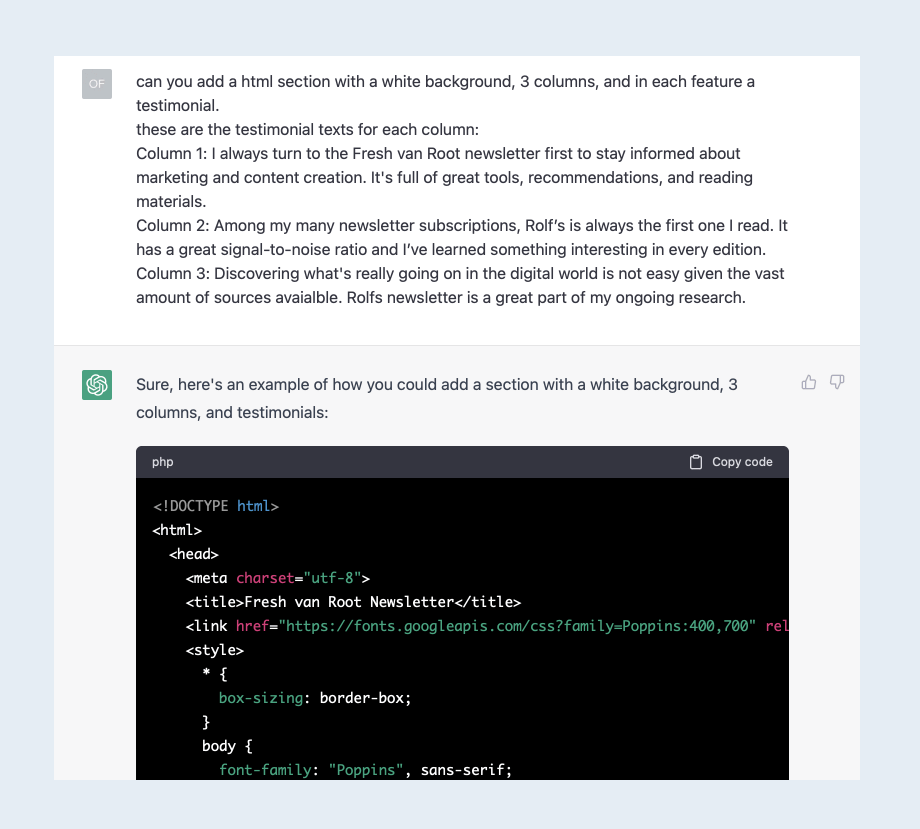
Again, I copied the HTML from ChatGPT over to Codepen.
Make the web page responsive
That could have been in the initial request to ChatGPT, but it also works at a later stage.
I ask ChatGPT to change the HTML/CSS so that the page is responsive to any device.
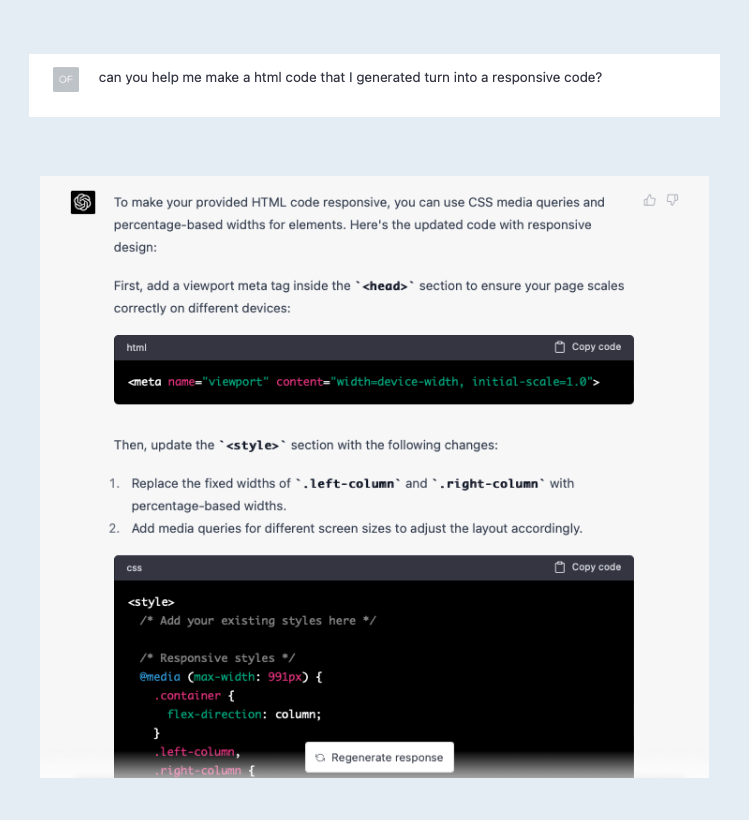
And it works, as you can see in this short screen recording. The page works now on all devices.
Bonus: Publishing the HTML page on the web
There are thousands of options to do this. You could upload the page if you have a web hosting account.
For this example, I tried Netlify. It offers a feature called Netlify Drop. You can select a folder that is instantly online as a website.
First, you have to save the HTML as a file. Copy the generated HTML from ChatGPT to a text editor, and save the file as index.html to a new folder.
Important: Netlify released a custom GPT for ChatGPT. Using the GPT, you no longer need to save and publish the generated code manually. Instead, you can publish the generated web page directly from within ChatGPT. Here is a tutorial on how to use the Netlify GPT inside ChatGPT.
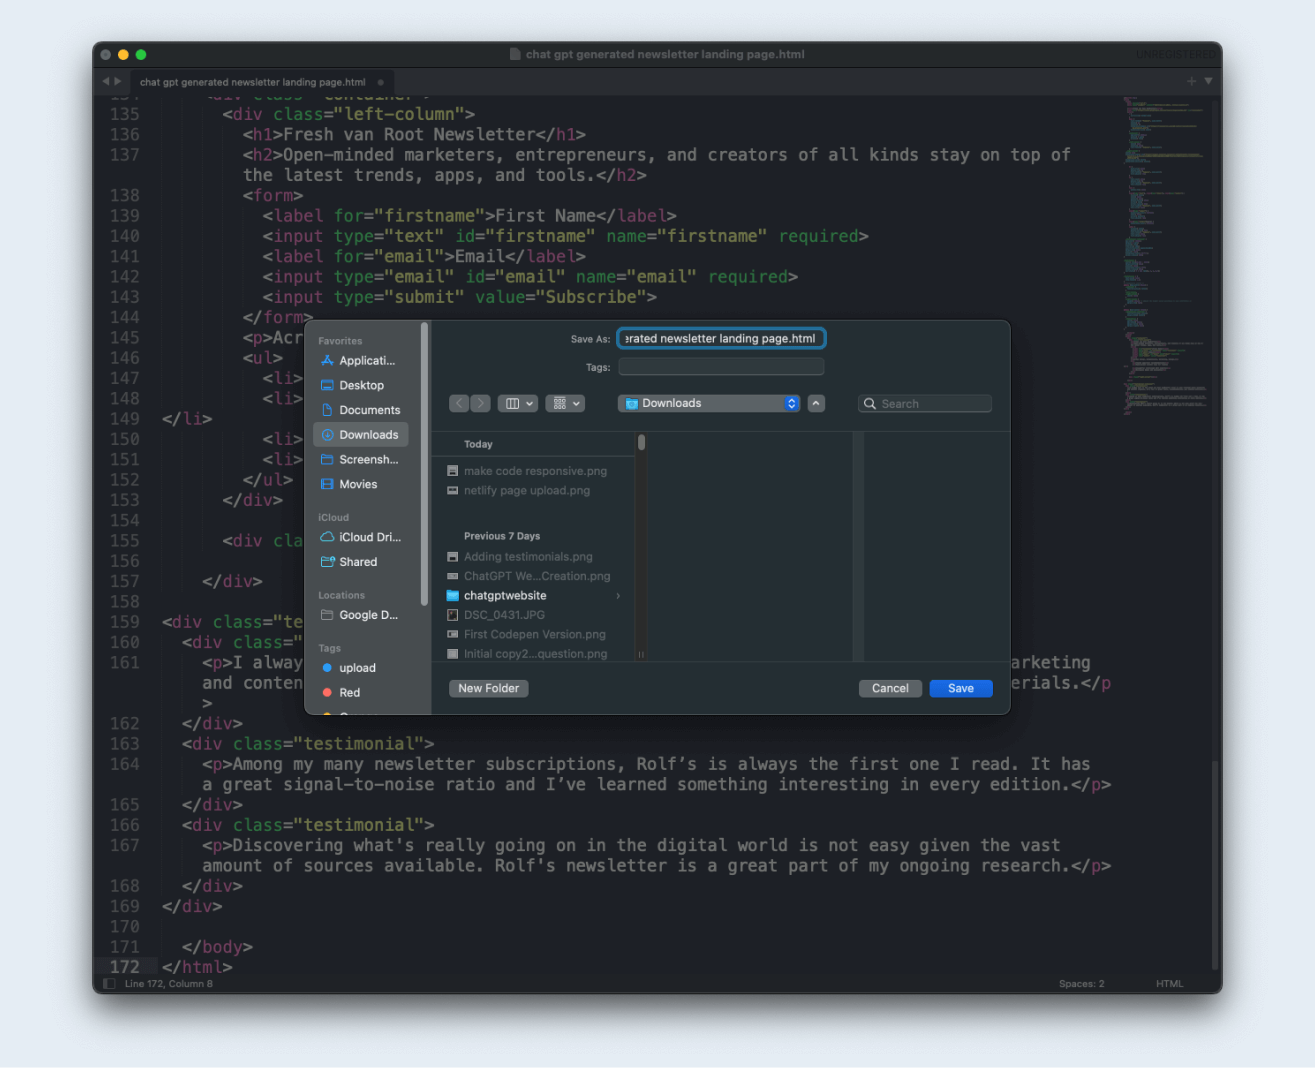
Next, create a free Netlify account. After that, create a new site and choose “manual deployment.”
You will land on this page.
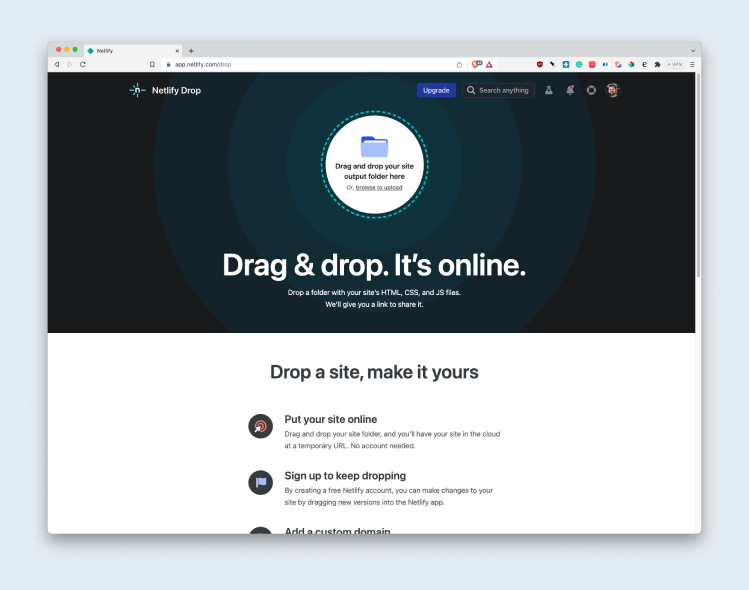
Note that your HTML file needs to be in a file folder, and you can select that folder to upload.
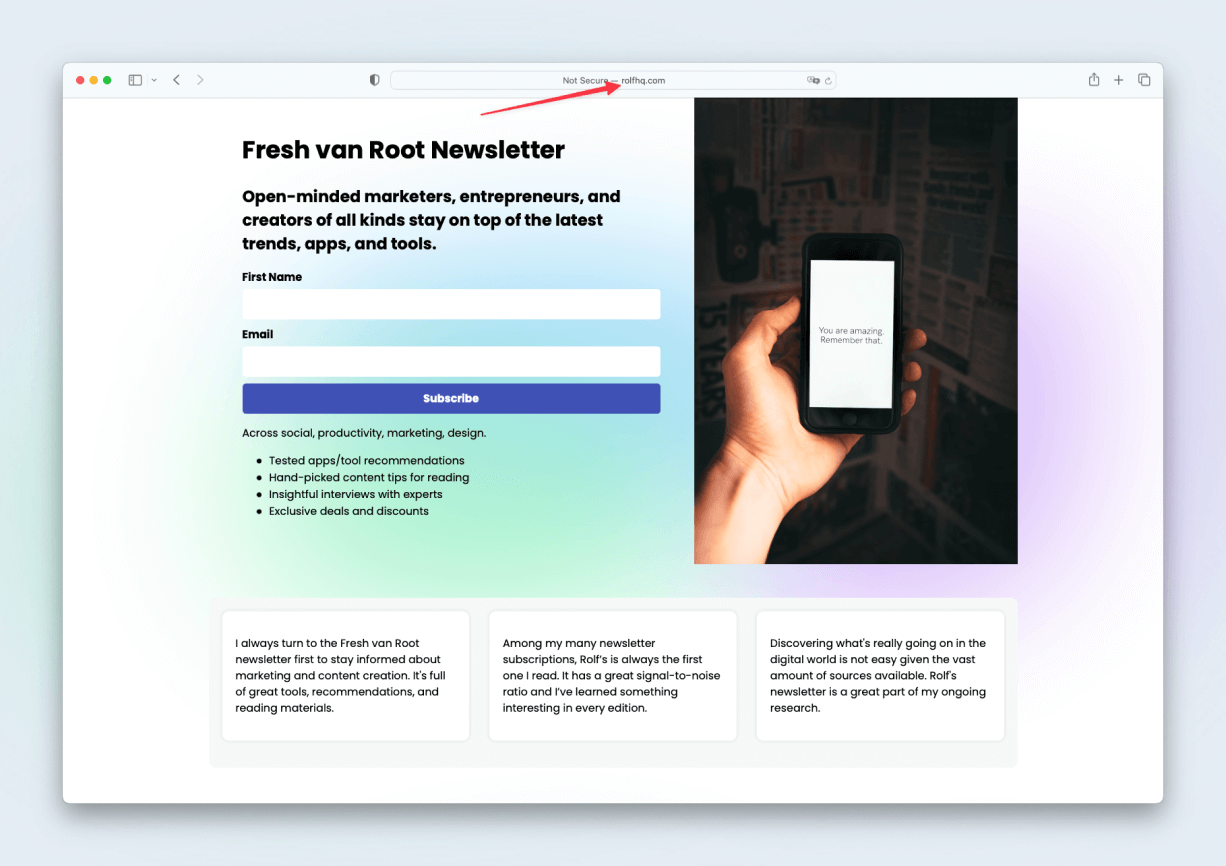
After that, your page is live under a custom Netlify domain. You can connect your domain in a few steps.
For this demonstration, I connected my rolfhq.com domain.
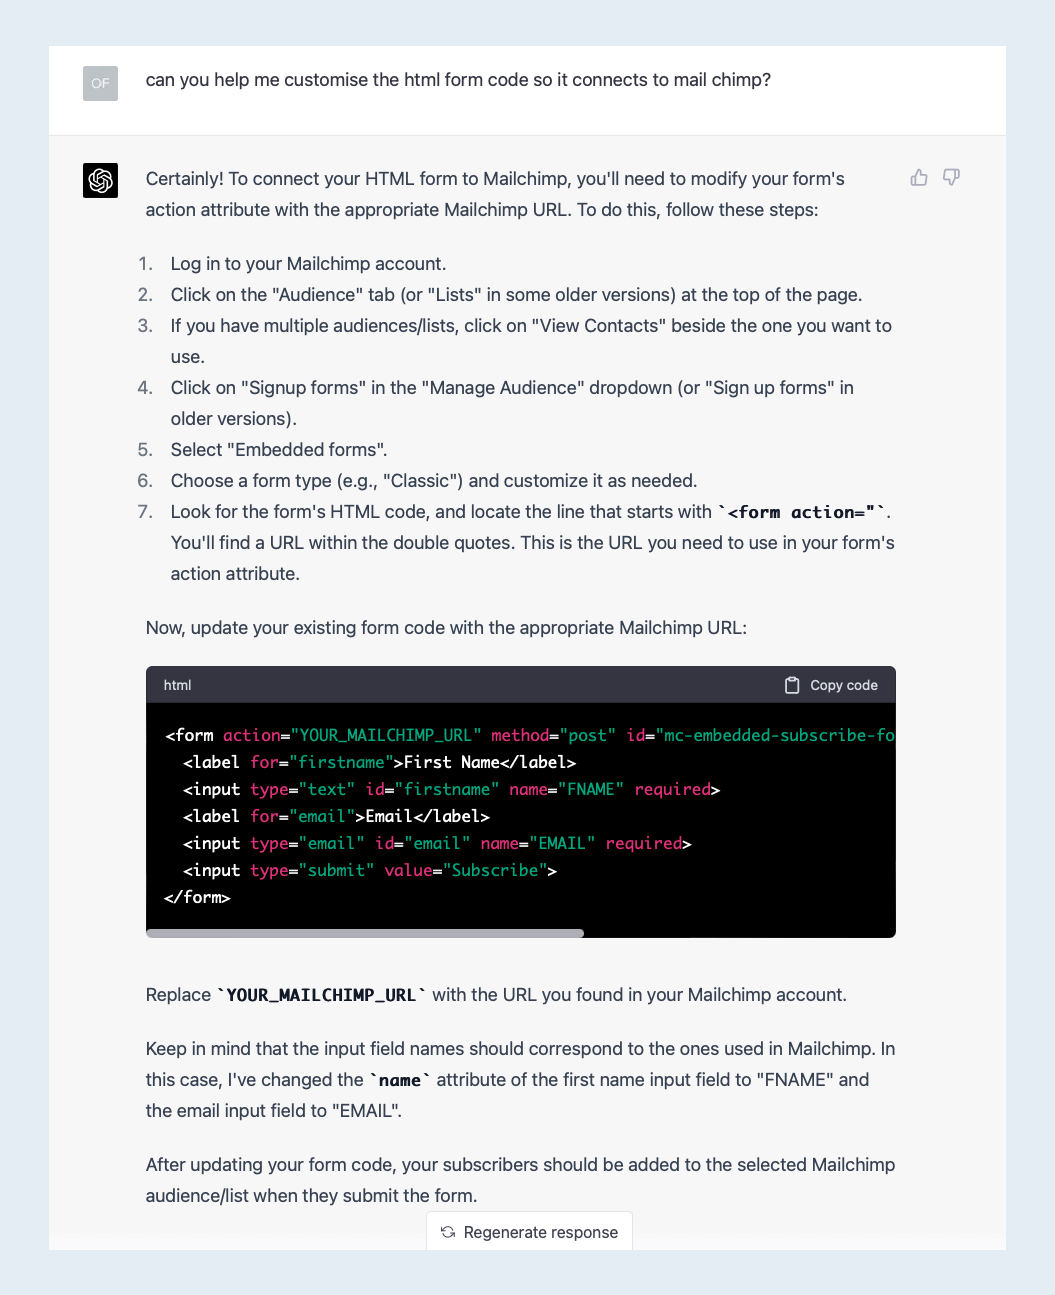
Bonus: Make the form working
You noticed the form on the demo page. So far, it does not connect to the newsletter service. But ChatGPT would even help with that:
More Learnings
ChatGPT often fails to provide the complete HTML. I solved this by starting a new chat and often asked only to update parts of the HTML.
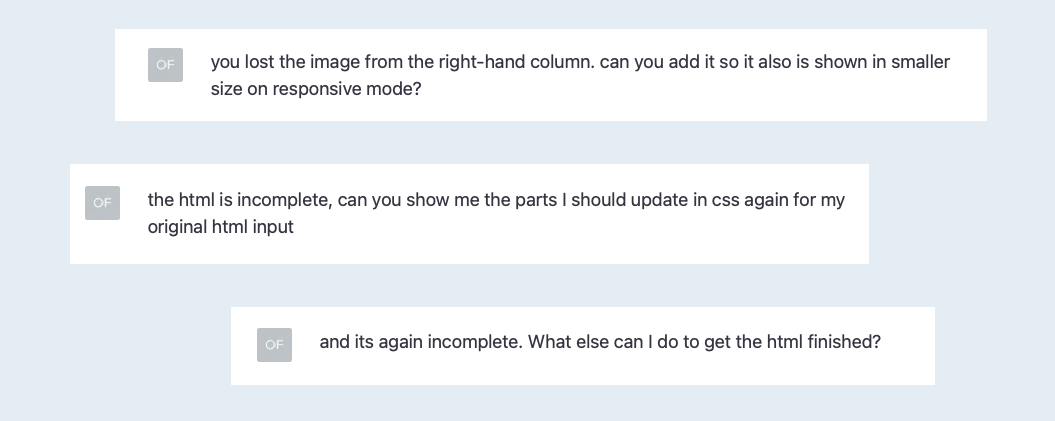
The generation of the HTML by ChatGPT can take some time. I am using ChatGPT Plus, which is faster. But if you think of a landing page with many more sections, HTML generation can take up to a full minute.
If you only want to update text content, you can ask ChatGPT to update a specific thing. Like “Update the H2 Heading with this text” and add “only provide the updated HTML for the H2 tag.”
The screenshots in this post only represent a fraction of the back and forth with ChatGPT, but it shows the most essential messages to get going.
Conclusion
ChatGPT offers a very convenient way to turn your content into a web page prototype. Of course, you need some knowledge about web layouts, design basics, and some content. But prototyping a web page with ChatGPT is fun and fast.
I will further improve my prototype, for example, making it responsive, tuning the design of the testimonial section, and more. Stay tuned.
More blog posts on using AI and ChatGPT:
- How Content Marketers Can Use ChatGTP (13 Examples)
- How Social Media Managers can use ChatGPT
- How ChatGPT Improves My Productivity on a Typical Work Day
- Artificial Intelligence and Misinformation Campaigns – A (Fake) Case Study.
▶️ Subscribe below and get more tips and tricks like this.


