The Covid-19 crisis made the previously occasional online call the norm, and for the time being, the classic in-person meeting will be the exception.
As an agency, freelancer, consultant, or coach, you may want to set up a straightforward way to book paid hours in your calendar. Ideally, that process does not involve any manual emails or meeting invites sent back and forth.
The tools of the trade to get this job done easily are Calendly, Stripe, and Zoom (or a different online meeting solution).
Here is a simple recipe on how to set this up.
Set Up your Event in Calendly
Calendly raised to prominence in recent months. The tool allows you to create online bookable events that are synced with your calendar. You simply sign up for an account, connect your Google or Outlook calendar, and set up your events.

As a new user, you are able to use all features of the paid plan for 14 days. After that, you are downgraded to a free plan. To use the Stripe integration, you need to be on the 12$/month plan. (Compare plans and pricing)
After you signed up, you can start creating bookable events.

One-on-One or Group events can be created. When choosing Group events, you can set a number for max. invitees for a booking.
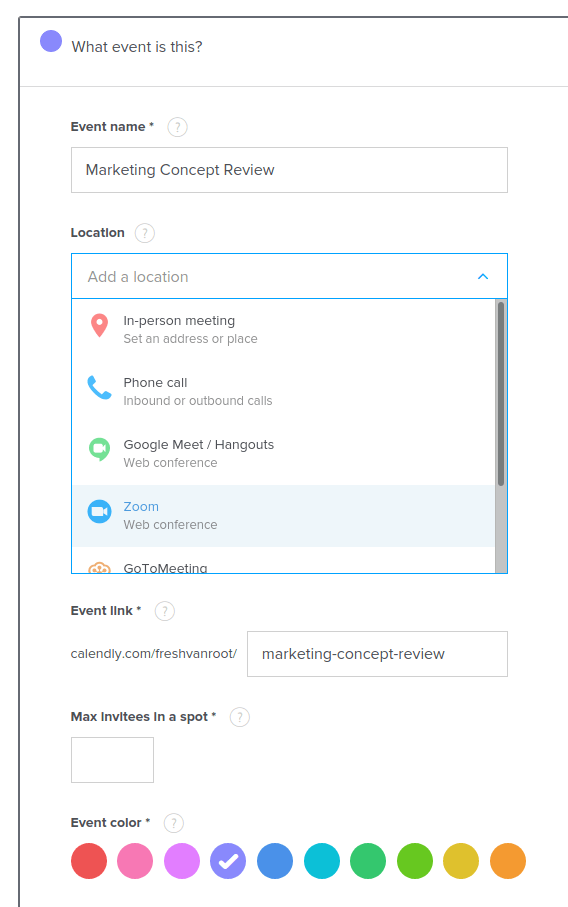
Zoom is my preferred way of meeting online. I wrote about why suddenly everyone is talking about Zoom if you are interested in that.
If you want to use Zoom as a meeting location for the first time, you will make a short detour to connect your account. Note that connecting Zoom to Calendly requires a paid account (Calendly, not Zoom).
But as you can see in the list above, it is also possible to choose Google Meet, GoToMeeting, or provide any type of location details.
For each bookable event, Calendly creates a unique URL that you can share with anyone online.
In the next screen, you can set when people can book this event. Double-check- on the time zone and choose a fitting duration for the call.

Calendly also creates a central landing page for your account that shows all bookable meetings, if you do not want that specific event to be listed on that page, make the event secret. That does make sense for client-specific events that are of no interest to the public.

Other notable event settings you can make in Calendly are
- Invitee Questions: Ask questions to make the online event a success. For example, ask your attendees to provide the material you want to discuss upfront, which questions they want to discuss, etc.
- Notifications and Cancellation Policy: Customize all email notifications (confirmation, cancellation, reminders) and add a custom cancellation policy.
- Confirmation page: You can set a custom confirmation page that a user gets sent to after making a booking.
- Collect Payments: Stripe or Paypal
Now you have to make a detour and create your Stripe account before you can finish setting up your Calendly event.
Connect your Stripe Account
Obviously, at first, you need to set up a Stripe account to be able to accept payments via Calendly events. Setting up your Stripe account takes about 15 minutes, or faster, depending on your business’s location.
Using Stripe does not involve fixed monthly costs, instead, they take a cut on transactions.

After you have done so, browse to the integrations page of Calendly. Stripe has a prominent spot on that page. Click on Stripe and connect your account.
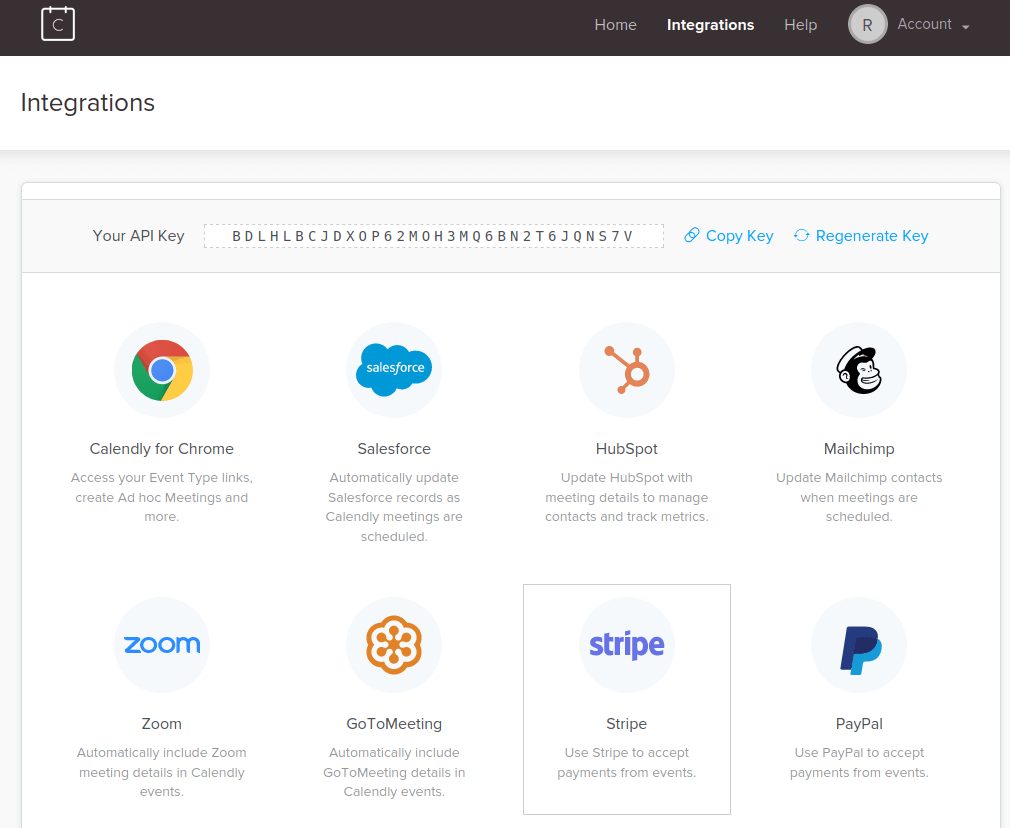
If you have finished connecting your account, select Stripe as a payment option in your Calendly event.

Now you are finished in setting up your first Calendly event and can start promoting the service.
Note that you can add Calendly events to your website with a few clicks. Calendly supports 3 ways of doing that out of the box.
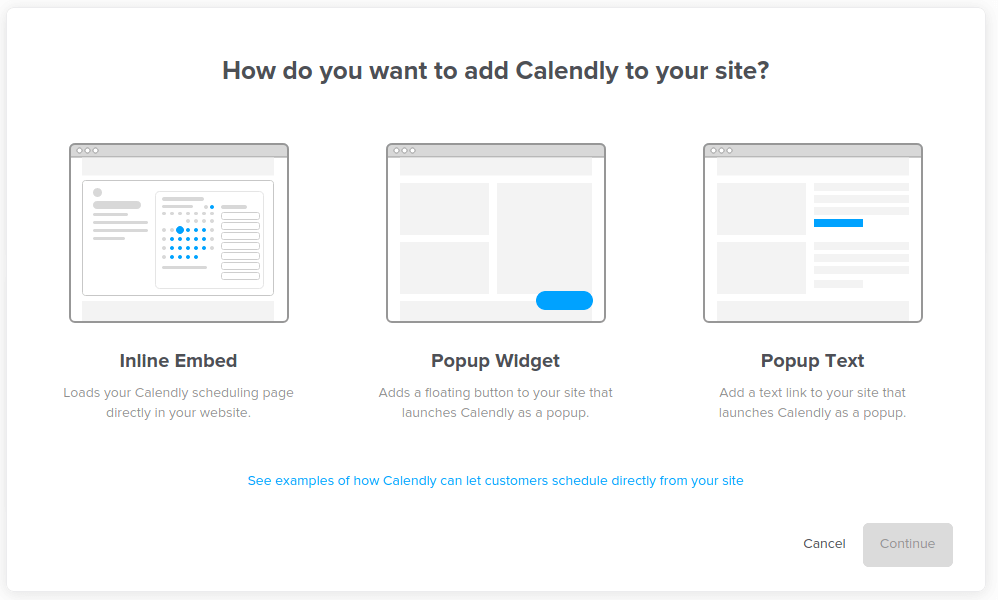
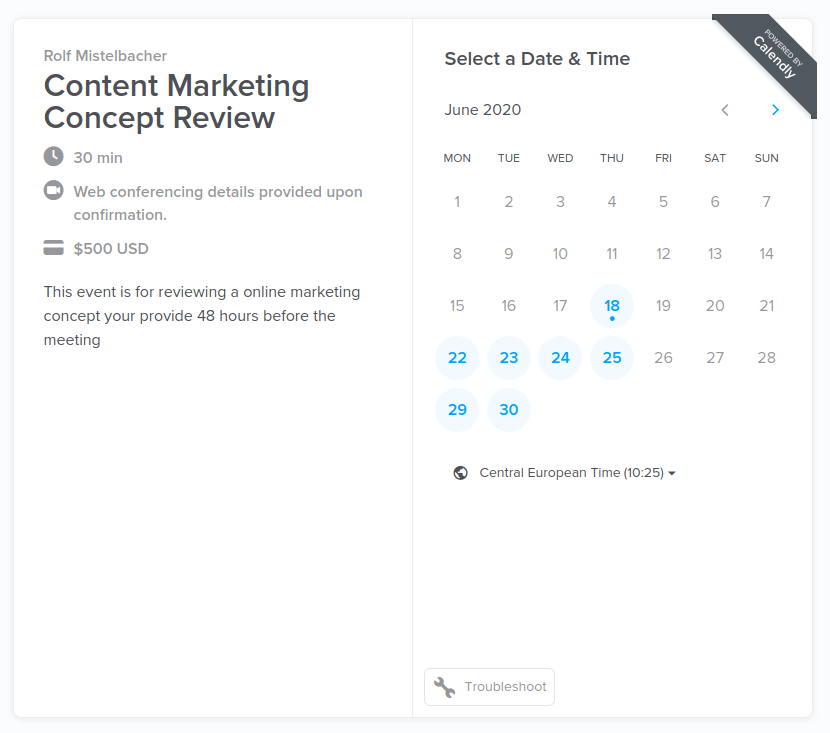
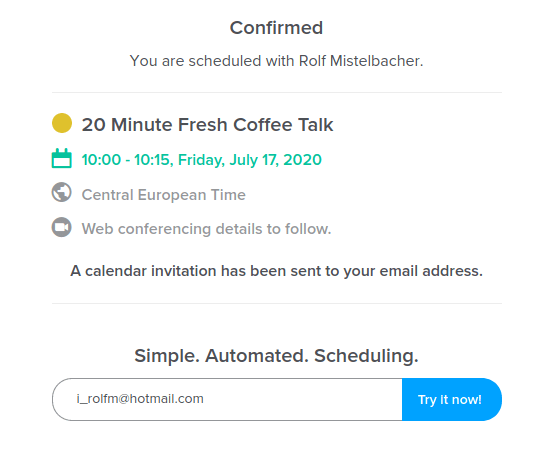
This is how a Calendly event looks with the Inline Embed element:
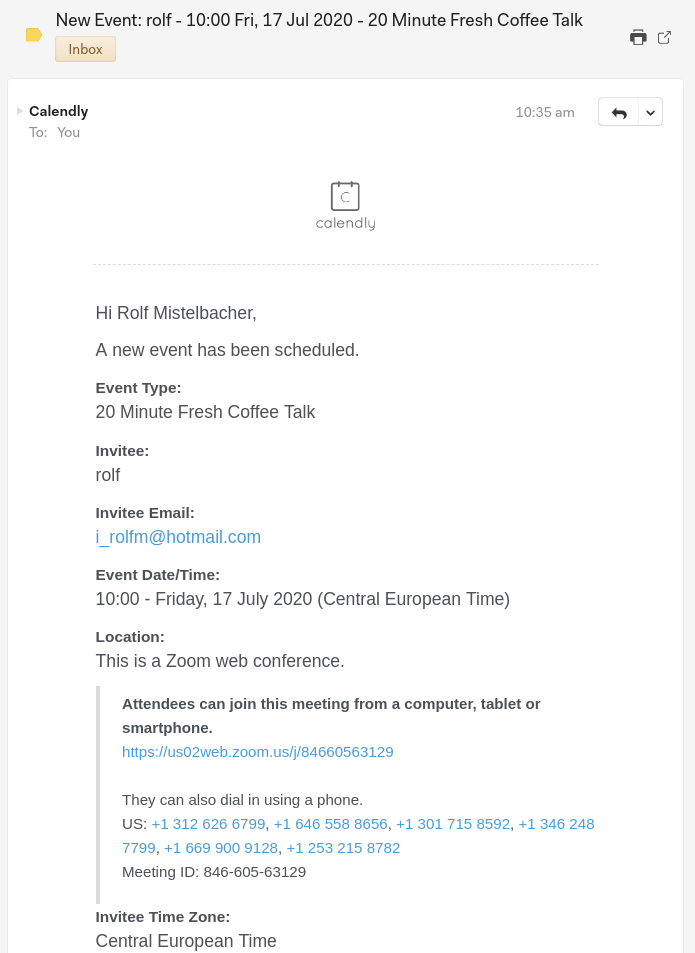
After a booking is made, a calendar event will be added to the booker’s calendar, and your own.
Within that calendar invite, details for the Zoom call are added auto-magically.
This was a short tutorial on how to sell your consulting hours online with Calendly. You can prototype this within one hour. Note that Calendly and Stripe allow integrating lots of 3rd party services, to give you some ideas:
- Set up invoicing via Stripe
- Set Up Mailchimp for follow up emails
- Sync data with your CRM (i.e., Salesforce)
- Trigger events with Zapier
So this short tutorial focused on the “minimal viable prototype” of your paid online event/meeting, keep in mind that Calendly, Stripe, and Zoom are very powerful tools that you can customize perfectly to your needs.
Do you want to discuss this stuff? Let’s discuss in a virtual coffee meeting 😉