Elementor Pro comes with a feature to upload your own custom font. You can also add your custom font to your website running the free version of Elementor, but you will have to add your custom font via CSS and it is tricky to get it displayed in the fonts dropdown in Elementor widgets.
For a recent client project we had to figure out how to add a custom font in Elementor Pro, and we learned a few things.
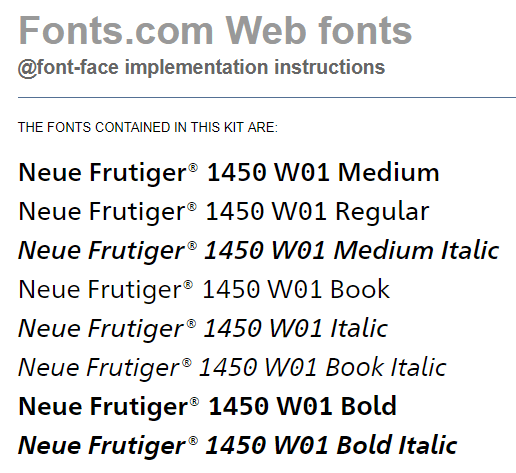
The font the client uses is called Neue Frutiger and was bought at fonts.com.
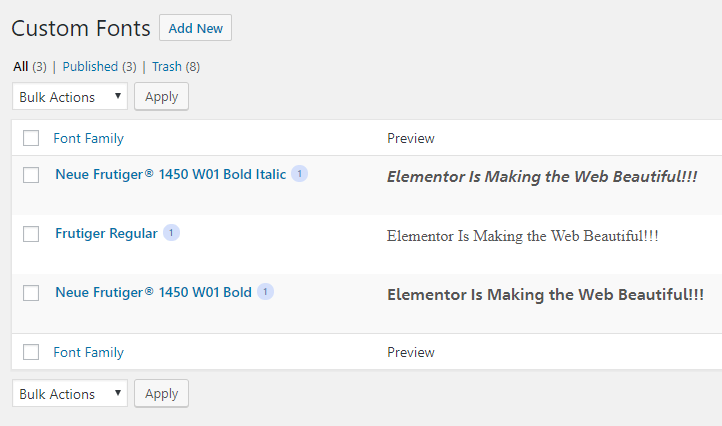
In Elementor Pro, there is a simple uploader for custom fonts.
If you bought a font you will most likely have a zip file, that holds all the files for the font.
The font formats include:
The Web Open Font Format (WOFF) – WOFF is the most recommended format to use, since it is supported by all modern browsers
The Web Open Font Format (WOFF 2.0) – TrueType/OpenType font that provides better compression than WOFF 1.0
TrueType Fonts (TTF) – This font was developed in the late 1980s, by Apple and Microsoft
SVG Fonts/Shapes – SVG fonts allow SVG to be used as glyphs when displaying text. Make sure to use this format to support old versions of iPhone
Embedded OpenType Fonts (EOT) – This font file works on IE, but not on other browsers. Make sure to use this format to support earlier versions of IE
via Elementor Blog
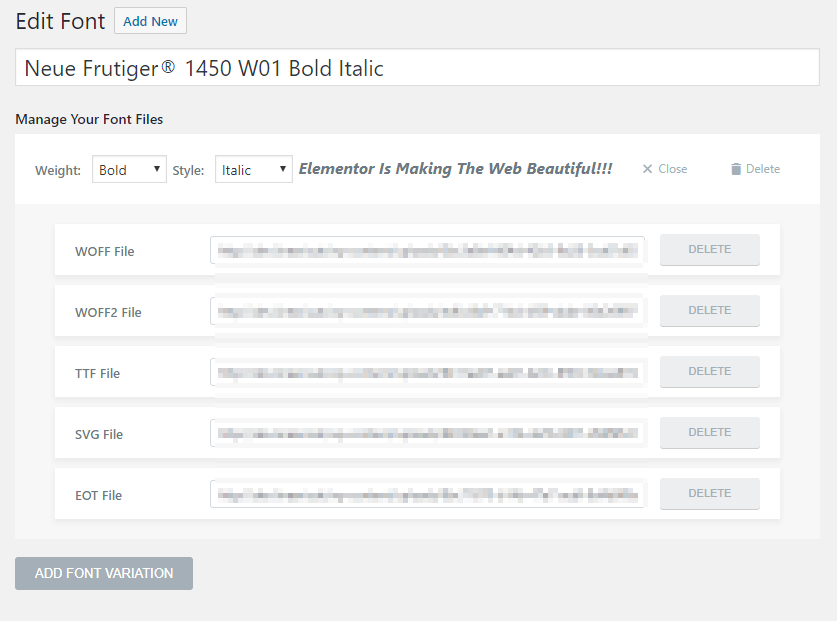
For every font variation, you can upload the files listed above. Best case scenario is that you have all file types available to support all browsers.
As soon as you have uploaded and published your font you can select your font in Elementor.

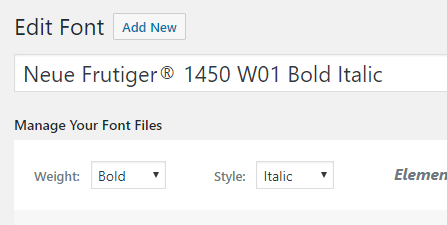
Keep in mind that you need to change the font weight and style in some cases. If you upload a bold and italic font, you need to also select that in the uploader.
So far so easy. The tricky part was figuring out which file to upload for which font variation.
Font file names have been obfuscated to protect the font software.
From the Fonts.com implementation instructions
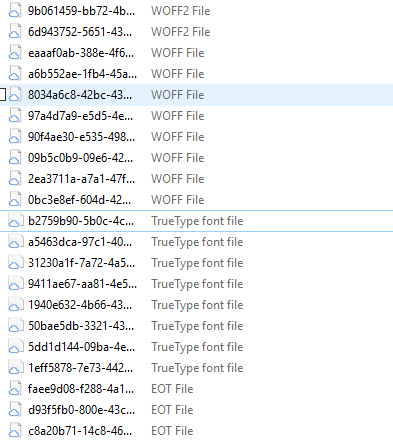
The unzipped folder holding the font files looks like this:
So how do you know which file is representing which font style? The Fonts.com instructions also come with a CSS snippet that you could add in the header area of your website. That is not what we want to do but that snippet holds the information which files are representing one font variation.
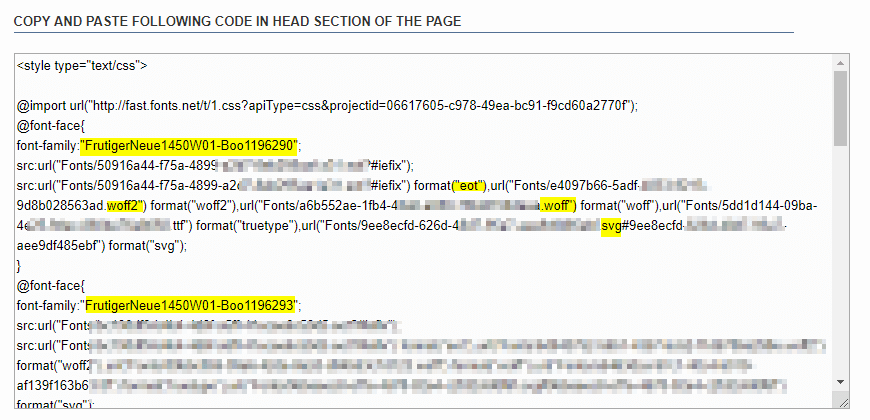
Each @font-face block points to the correct files to upload for one font in your collection. You need to copy the file name from this CSS and search for it in your unzipped folder. Upload the file to WordPress via Elementor and do this five times for every font variation. I recommend organizing your fonts in subfolders to save time if you have to do that again in the future.
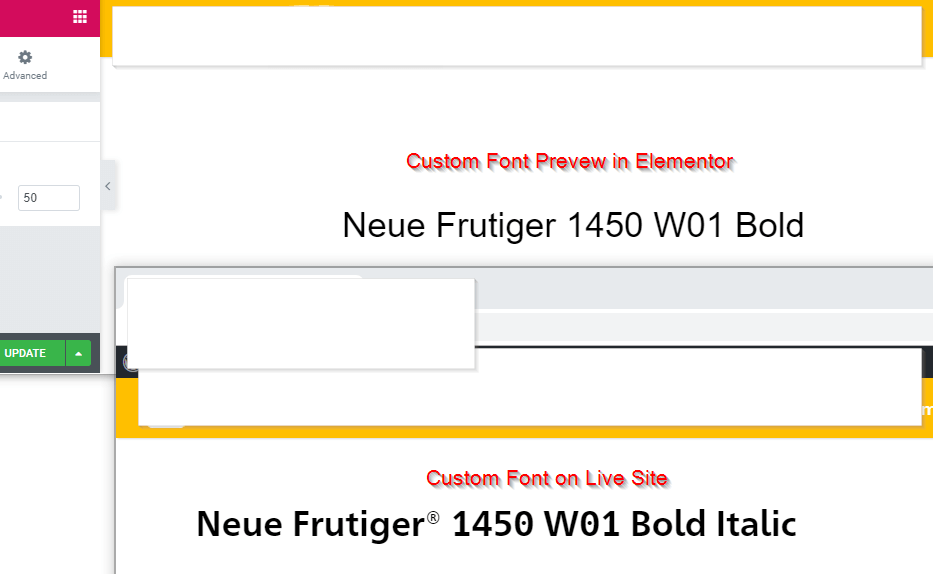
When you have finished uploading your custom fonts you can select them in the Elementor editor. If the font is not applied after selection, be sure to also check the site preview. We had the strange behavior of the font not being shown correctly while editing, but on the live site, it was rendered alright.
Related: